Ok some background here - one, it's easier to get my hair to stay when its wet, so I took pictures right after I got out of the shower. Forgive my lack of makeup lol. Two - you will NOT be bleaching your hair wet - it is for demonstration purposes ONLY! That said...
Ever wanted some highlights without spending an arm and a leg at the salon, or giving yourself weird stripes? You're in luck because...it's not that hard.
What you'll need:
Ever wanted some highlights without spending an arm and a leg at the salon, or giving yourself weird stripes? You're in luck because...it's not that hard.
What you'll need:

1) Color Bowl
2) Color Brush
3) Salon foils
4) PLASTIC clips - no metal...or you'll oxidize and rust when it comes in contact with the developer
5) Comb (highlighting comb preferred, but rat tail will do)
6) Bleach & Developer (not shown)
To start - fold your foils in half and tear them down the middle. If you have long hair, do it length-wise. My hair is short, so mine are torn width wise. Then mix your bleach.

Section your hair where you'd like to start your highlights. For demonstration, I started at the apex (top of my head, close to the crown) however my real highlights are only through my bangs. Comb what is not being highlighted away from your face, and what you want to put highlights in toward your face.
I'm sectioning straight across because of the way I part my hair. If you part down the middle, section your hair on an angle so you don't have chunks of highlights. I part mine on an angle and direct it toward my face, so straight across works fine.
Clip it back since it'll be dry and will flop back to where it was :)

Fold your foil across your comb tail. It'll help get it close to your scalp when you're protecting the hair you're not bleaching.

The basic method we're going to do with foils is what I call "sandwiching". You aren't going to worry about folding them or doing anything fancy, just stacking them. This is your base foil. Clip it down to protect the hair you do NOT want to bleach. This will be your "base foil".
You'll see in following pictures that you'll be stacking in a pattern like this:
-Foil
-Bleach
-Foil
-Natural Hair
-Foil
-Bleach
-Foil
-Natural Hair
-Foil
-Bleach
-Foil
etc...etc...etc...

Take your first selection of hair. This is what you'll be bleaching. Section about 1/8" out...meaning, between the partings is only 1/8" of hair. This will make sure the bleach is saturated well and that you don't end up with crazy chunks of bleach.

Lay it down on the foil, and brush your bleach mixture onto it. (You don't have to use one hand, but since the other hand was holding my phone/camera to show you, that's how it came out. Plus, I didn't actually bleach my hair at the time I took pictures...so you're not missing something here lol)
It will stick to the foil and not move.
It will stick to the foil and not move.

Press another piece of foil down, sandwiching the bleached section between foils...again, the foil will stick to the bleach.

Section about 1/2" to 3/4" of hair that will not be bleached. Clip it down as this will not stick to the foils. This is your part that will be "left out".

Lie another piece of foil down to be your "bottom layer" for your next bleach sandwich. I didn't show it in two pictures because, well, I think you get the point by now.
Apply bleach, and another foil over the top.
Again, the section of hair should only be 1/8" thick!
Apply bleach, and another foil over the top.
Again, the section of hair should only be 1/8" thick!
Repeat as often as needed.
Let process per the instructions with whatever brand bleach you're using, then rinse, shampoo, condition and style.
Here are my highlights. I only have two slices, so it's just through my bangs.
As you can see, I wear a side part and comb my hair toward my face, so the highlights are well blended and don't appear chunky anywhere.
You can use this technique for low-lights, or bright funky colors as well to get some dimension without spending a fortune at the salon!
You can use this technique for low-lights, or bright funky colors as well to get some dimension without spending a fortune at the salon!
Hope you enjoyed this little tutorial, and reset your standards!!
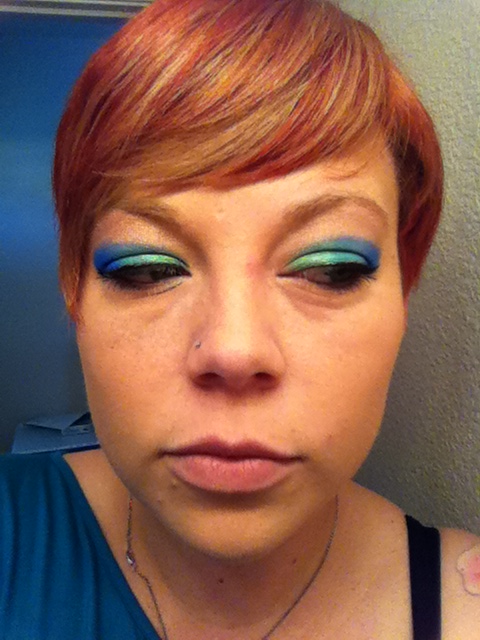
Makeup is:
Foundation: L'Oreal True Match liquid foundation & Revlon ColorStay Aqua
Makeup is:
Foundation: L'Oreal True Match liquid foundation & Revlon ColorStay Aqua
Eyes: E.L.F. Mineral Primer, Mineralface FX (www.mineralfacefx.com) in Apple Martini, Cat Eye & Omega.
eye liner: NYC Liquid Liner, mascara: L'oreal Double Extend Beauty Tubes
No comments:
Post a Comment